News
Site Editor
 Site
https://leonetworkgroup.usa18.wondercdn.com/uploads/image/5fe152faa587d.png
Connecting a modem to a patch panel is a process that requires some knowledge about the devices themselves and their basic functionalities. In this article, we will guide you through the steps involved in connecting a modem to a patch panel.Firstly, let us understand what a modem and a patch panel is.A modem is a device that is used to connect your computer or other devices to the internet. It is
Site
https://leonetworkgroup.usa18.wondercdn.com/uploads/image/5fe152faa587d.png
Connecting a modem to a patch panel is a process that requires some knowledge about the devices themselves and their basic functionalities. In this article, we will guide you through the steps involved in connecting a modem to a patch panel.Firstly, let us understand what a modem and a patch panel is.A modem is a device that is used to connect your computer or other devices to the internet. It is
How To Connect Modem To Patch Panel
Views: 1067
Author: Site Editor
Publish Time: 2023-07-13
Origin: Site
Connecting a modem to a patch panel is a process that requires some knowledge about the devices themselves and their basic functionalities. In this article, we will guide you through the steps involved in connecting a modem to a patch panel.
Firstly, let us understand what a modem and a patch panel is.
A modem is a device that is used to connect your computer or other devices to the internet. It is also called a network modem as it is used to connect to a network that provides internet access. It receives data signals from the internet service provider (ISP) and converts them into digital signals that can be understood by computers and other devices.
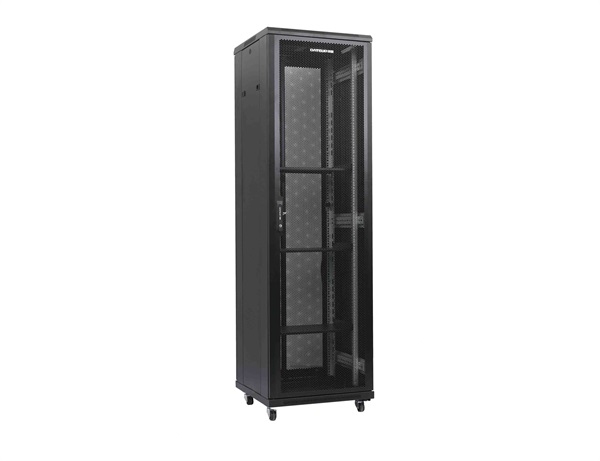
On the other hand, a patch panel is a device that is used to organize and connect network cables. It is a hardware component that helps in managing network connections. Patch panels are commonly used in data centers, server rooms, and in large businesses to help with network management and organization.
Now that we have understood what the two devices are and their functionalities, let us move on to the steps involved in connecting a modem to a patch panel.
Step 1: Identify the Modem and the Patch Panel
The first step in connecting a modem to a patch panel is identifying the modem and the patch panel. This requires knowledge of the devices and where they are located. Check the labels on each device to ensure that you have the correct devices.
Step 2: Determine the Type of Cable
The next step is to determine the type of cable to use in connecting the modem to the patch panel. There are several types of cables, including Cat6, Cat5e, and fiber optic cables. Choose the appropriate cable based on the devices you are connecting and the length of the cable required.
Step 3: Connect the Modem to the Patch Panel
Once you have identified the devices and the cable, the next step is to connect the modem to the patch panel. Start by inserting the cable into the modem's Ethernet port and then connect the other end of the cable to the patch panel's port. This creates a direct connection between the modem and the patch panel.
Step 4: Test the Connection
After connecting the modem to the patch panel, it is important to test the connection to ensure that it is working properly. To do this, connect a computer or other device to the patch panel and test the internet connectivity. If everything is working, then the connection has been successfully established.
In conclusion, connecting a modem to a patch panel is a process that requires attention to detail and some knowledge of the devices involved. By following the steps outlined in this article, you can successfully establish a connection between a modem and a patch panel.
If you want to know more about industrial network cabinet,china fiber optic splice closure,china fiber optic distribution box,please consult the fiber optic splice closure factory


