News
Site Editor
 Site
https://leonetworkgroup.usa18.wondercdn.com/uploads/image/5fe152faa587d.png
Punching down a Cat6 patch panel may seem like a daunting task, but it's actually quite easy once you understand the process. Here's a step-by-step guide on how to punch down a Cat6 patch panel:Step 1: Gather the necessary tools and materialsBefore you begin, make sure you have the following tools and materials on hand:- Cat6 patch panel- Cat6 keystone jacks- Punch down tool- Cable stripper- Ether
Site
https://leonetworkgroup.usa18.wondercdn.com/uploads/image/5fe152faa587d.png
Punching down a Cat6 patch panel may seem like a daunting task, but it's actually quite easy once you understand the process. Here's a step-by-step guide on how to punch down a Cat6 patch panel:Step 1: Gather the necessary tools and materialsBefore you begin, make sure you have the following tools and materials on hand:- Cat6 patch panel- Cat6 keystone jacks- Punch down tool- Cable stripper- Ether
How To Punch Down Cat6 Patch Panel
Views: 613
Author: Site Editor
Publish Time: 2023-07-10
Origin: Site
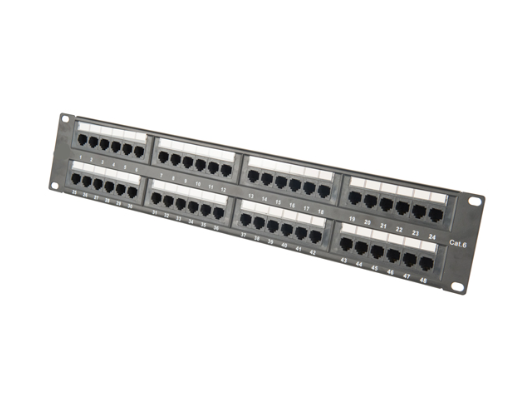
Punching down a Cat6 patch panel may seem like a daunting task, but it's actually quite easy once you understand the process. Here's a step-by-step guide on how to punch down a Cat6 patch panel:
Step 1: Gather the necessary tools and materials
Before you begin, make sure you have the following tools and materials on hand:
- Cat6 patch panel
- Cat6 keystone jacks
- Punch down tool
- Cable stripper
- Ethernet cable
- Wire cutter
Step 2: Strip the ethernet cable
Using the cable stripper, strip about 2 inches of the outer jacket from the ethernet cable. You should now see 8 individual wires - orange, white-orange, green, white-green, blue, white-blue, brown, white-brown.
Step 3: Untwist and arrange the wires
Untwist the individual wires and arrange them in the correct order according to the T568A or T568B wiring standard. Most patch panels will label the ports with the corresponding color code.
T568A:
1. Green/White
2. Green
3. Orange/White
4. Blue
5. Blue/White
6. Orange
7. Brown/White
8. Brown
T568B:
1. Orange/White
2. Orange
3. Green/White
4. Blue
5. Blue/White
6. Green
7. Brown/White
8. Brown
Step 4: Insert the wires into the keystone jack
Insert the wires into the keystone jack, making sure each wire is seated all the way to the end. You can use a wire cutter to trim the excess wire if necessary.
Step 5: Place the keystone jack into the patch panel
Insert the keystone jack into the corresponding port on the patch panel. Make sure it clicks securely into place.
Step 6: Punch down the wires
Using the punch down tool, punch down each wire to secure it in place. Be sure to use the correct setting on the punch down tool for Cat6 cable.
Step 7: Repeat for each keystone jack
Repeat steps 3-6 for each keystone jack you need to install.
Step 8: Test the connections
Once all the keystone jacks are punched down, test the connections using an ethernet cable and an ethernet tester. Make sure each connection is working properly.
Conclusion:
Punching down a Cat6 patch panel may seem like a complicated process, but it's actually quite easy once you understand the steps. By following these instructions, you'll be able to punch down a Cat6 patch panel in no time, and have a properly wired network that's fast and reliable.
If you want to know more about industrial network cabinet,china fiber optic splice closure,china fiber optic distribution box,please consult the fiber optic splice closure factory


