News
Site Editor
 Site
https://leonetworkgroup.usa18.wondercdn.com/uploads/image/5fe152faa587d.png
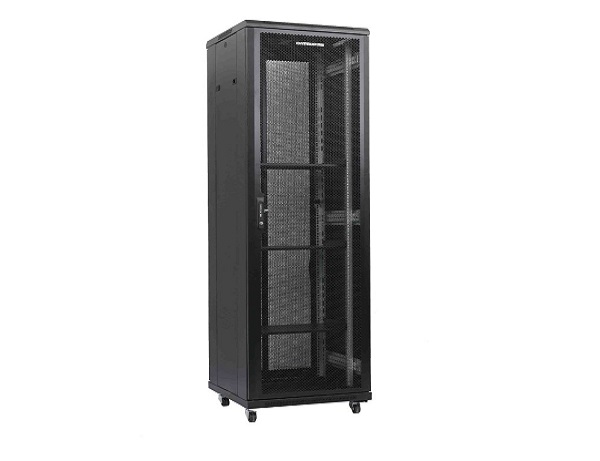
Installing a patch panel and switch can seem daunting at first, but with the right tools and guidance, it can be a simple and straightforward process. In this article, we will go step-by-step through the installation process to help you confidently set up your network.Step 1: Gather Necessary EquipmentBefore beginning the installation process, ensure that you have all the necessary equipment. You
Site
https://leonetworkgroup.usa18.wondercdn.com/uploads/image/5fe152faa587d.png
Installing a patch panel and switch can seem daunting at first, but with the right tools and guidance, it can be a simple and straightforward process. In this article, we will go step-by-step through the installation process to help you confidently set up your network.Step 1: Gather Necessary EquipmentBefore beginning the installation process, ensure that you have all the necessary equipment. You
How To Install A Patch Panel And Switch
Views: 606
Author: Site Editor
Publish Time: 2023-07-13
Origin: Site
Installing a patch panel and switch can seem daunting at first, but with the right tools and guidance, it can be a simple and straightforward process. In this article, we will go step-by-step through the installation process to help you confidently set up your network.
Step 1: Gather Necessary Equipment
Before beginning the installation process, ensure that you have all the necessary equipment. You will need a patch panel, a switch, a screwdriver, cable ties, a punch down tool, and Ethernet cables. Additionally, you may need a ladder, cable tester, and a labeling machine.
Step 2: Plan the Layout
Before beginning the installation process, it is essential to plan the layout of the patch panel and switch. Determine where you want to position them to ensure easy access and convenience. Ensure that you have enough space to work around and lay out the cables effectively.
Step 3: Mount the Patch Panel
Next, mount the patch panel onto the wall using the supplied brackets and screws. Ensure that the patch panel is level and securely fixed to prevent any damage or accidents. Using a labeling machine, label each port on the patch panel for easy identification.
Step 4: Install the Switch
Once the patch panel is mounted, install the switch on a nearby wall or the same surface as the patch panel, so that it is easy to connect them. Make sure that the switch is level and securely mounted to prevent any accidents. Using a labeling machine, label each port on the switch for easy identification.
Step 5: Connect the Cables
Once both the patch panel and switch are installed, start connecting the cables to the patch panel. Strip off enough insulation from each cable's end, expose the copper wires, then carefully insert them into each port. Use a punch-down tool to push the wires firmly into place. Once all cables are connected, test the connections using a cable tester to ensure all connections are working correctly.
Step 6: Tie Up Loose Cables
Finally, tie up any loose cables securely using cable ties to prevent the cables from interfering with each other or becoming a trip hazard.
In conclusion, installing a patch panel and switch requires careful planning and execution to ensure that your network functions effectively and efficiently. Following the above steps, you can confidently install your patch panel and switch, knowing that your network is well set up and ready for use.
If you want to know more about industrial network cabinet,china fiber optic splice closure,china fiber optic distribution box,please consult the fiber optic splice closure factory


