News
Site Editor
 Site
https://leonetworkgroup.usa18.wondercdn.com/uploads/image/5fe152faa587d.png
Installing a patch panel in a rack is an essential and fundamental task for anyone who wants to manage their network cables effectively. A patch panel can help improve cable organization, making it easier to identify and fix issues as they arise. In this article, we will discuss the steps involved in installing a patch panel in a rack.1. Choose the appropriate patch panelThe first step in installi
Site
https://leonetworkgroup.usa18.wondercdn.com/uploads/image/5fe152faa587d.png
Installing a patch panel in a rack is an essential and fundamental task for anyone who wants to manage their network cables effectively. A patch panel can help improve cable organization, making it easier to identify and fix issues as they arise. In this article, we will discuss the steps involved in installing a patch panel in a rack.1. Choose the appropriate patch panelThe first step in installi
How To Install Patch Panel In Rack
Views: 606
Author: Site Editor
Publish Time: 2023-06-30
Origin: Site
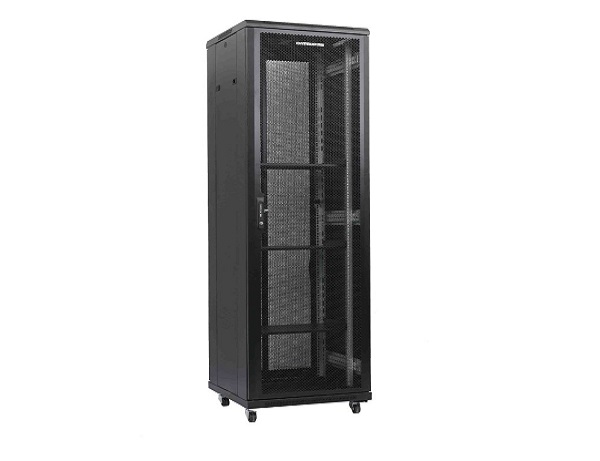
Installing a patch panel in a rack is an essential and fundamental task for anyone who wants to manage their network cables effectively. A patch panel can help improve cable organization, making it easier to identify and fix issues as they arise. In this article, we will discuss the steps involved in installing a patch panel in a rack.
1. Choose the appropriate patch panel
The first step in installing a patch panel is to choose the type of patch panel that is required for your network. Patch panels come in different varieties, including shielded and unshielded, and Cat5e and Cat6. Choosing the right patch panel will depend on the type of cable being used, the number of ports required, and the size of the rack.
2. Install the mounting brackets
Before installing the patch panel, it is essential to install the mounting brackets. The mounting brackets are used to attach the patch panel to the rack. The brackets can be installed using screws or other appropriate fasteners. Make sure to position the brackets in the appropriate place, leaving enough space for the patch panel.
3. Install the patch panel
After installing the mounting brackets, the next step is to attach the patch panel. Align the patch panel with the mounting brackets and use screws to attach it firmly to the rack. Make sure to tighten the screws adequately to prevent the patch panel from coming loose.
4. Test the installation
Once the patch panel is installed, it is crucial to test the installation. Testing involves connecting cables to the patch panel and checking that there is a connection. You can use a cable tester to check that the connections are functioning correctly. If there are any issues, resolve them before finalizing the installation.
5. Label the cables
The final step in installing a patch panel is to label the cables. Labeling the cables is critical for identifying them later. You can use cable labels or a label printer to identify the cables. Make sure to attach the labels to both ends of the cable.
In conclusion, installing a patch panel in a rack is a relatively easy task, provided you follow the steps outlined above. By choosing the appropriate patch panel, installing the mounting brackets, attaching the patch panel, testing the installation, and labeling the cables, you can achieve an effective patch panel installation. A well-installed patch panel can help improve cable organization, making it easier to manage and troubleshoot your network cables.
If you want to know more about industrial network cabinet,china fiber optic splice closure,china fiber optic distribution box,please consult the fiber optic splice closure factory


