News
Site Editor
 Site
https://leonetworkgroup.usa18.wondercdn.com/uploads/image/5fe152faa587d.png
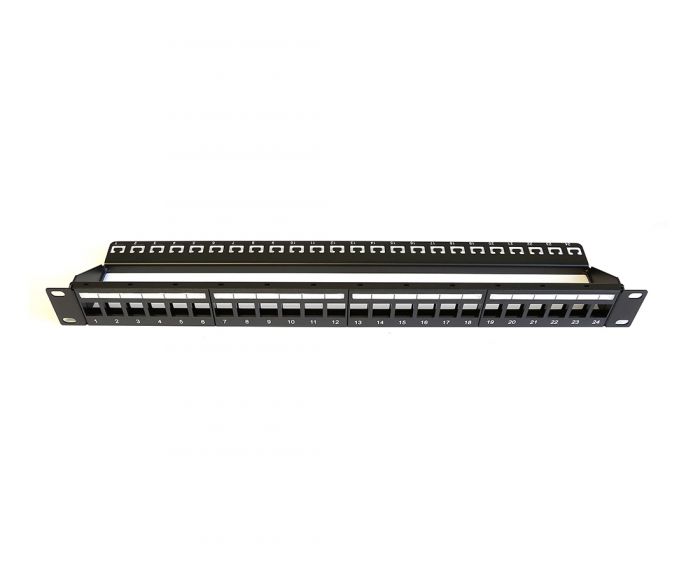
When connecting devices in data centers, two common components include a patch panel and a network switch. A well-designed structured cabling system can make installation of a patch panel. Once mounted on the server rack, the use of horizontal cable management can keep everything neat and tidy.
How to Installing a Network Patch Panel and Switch
Views: 3797
Author: Site Editor
Publish Time: 2021-08-05
Origin: Site
When connecting devices in data centers, two common components include a patch panel and a network switch. A well-designed structured cabling system can make installation of a patch panel. Once mounted on the server rack, the use of horizontal cable management can keep everything neat and tidy.

What Is the Difference Between a Patch Panel and Switch?
While a patch panel and switch may look the same on the front with their rows of ports that is where their similarities end, as each component serves a different purpose in a telecommunications room. A patch panel is a passive component that compliments the switch. The panel is designed to group multiple network ports in a single location which helps organize the wiring. Labeling the cables connected to a patch panel makes it is easier to identify signal flow as well as diagnose and troubleshoot any technical issues. In contrast, an Ethernet switch is an active component that receives, processes, and forwards data to multiple devices such as computers, servers, as well as other Ethernet IP devices such as security cameras. Devices can be networked together by connecting them to the switch through the patch panel. A switch is required in a local area network (LAN) whether a patch panel is used or not.
Steps for Installing a Patch Panel and Switch
1. Determine where the patch panel and switch should be installed
Evaluate the operating environment, a place where the equipment and components can be maintained well and accessed easily. Unobstructed airflow and vents are crucial.
2. Build or purchase pre-terminated patch cords
Determine patch cord lengths as well as the quantity needed for the installation. If improper lengths are chosen, cables with excessive slack will not only increase material and installation cost but also hinder cable management.
3. Map out the ports
Determine which switch port is connecting to which patch panel port, by doing this can reduce installation time.
4. Mount the patch panel and switch
Ensure the server rack accommodates the size of your components (EIA standard 19" width is most common).
5. Connect the patch panel to the switch
With the prepared patch cords, follow the port mapping created in step 3 and patch the cables.
6. Install cable management
Using horizontal and vertical cable management and cable ties to organize cables can help make future changes and upgrades easy.
7. Label cable
Tag both ends of each cable the same; this can assist in troubleshooting your end-to-end connectivity between the patch panel and the switch.

About Us
LEO NETWORK group have advanced equipment including Numerical Control Laser Incision Machines, Welding Robots, Hydraulic Turret Punch Presses, Fluke 8000, injection molding machine, zinc die casting machine, wave front solder machine, automatic assembly machine, laser printer, Numerical Folding Equipment Automatic Spraying production lines and variety of advanced testing machines. If you are looking for a reliable merchandise of Patch Panel, please don't hesitate to contact us!
If you want to know more about industrial network cabinet,china fiber optic splice closure,china fiber optic distribution box,please consult the fiber optic splice closure factory


