News
Site Editor
 Site
https://leonetworkgroup.usa18.wondercdn.com/uploads/image/5fe152faa587d.png
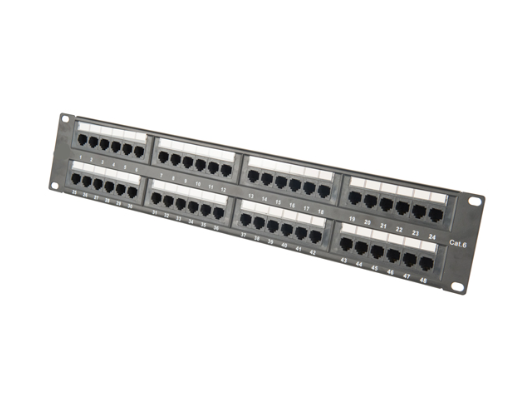
A Cat5 patch panel is an important component of a structured cabling system. It helps organize and manage network cables in a neat and efficient way, which can simplify troubleshooting, maintenance and upgrades. Wiring a Cat5 patch panel may seem like a daunting task, but with the right tools and information, it can be done easily and quickly.Here are the basic steps to wire a Cat5 patch panel:Ste
Site
https://leonetworkgroup.usa18.wondercdn.com/uploads/image/5fe152faa587d.png
A Cat5 patch panel is an important component of a structured cabling system. It helps organize and manage network cables in a neat and efficient way, which can simplify troubleshooting, maintenance and upgrades. Wiring a Cat5 patch panel may seem like a daunting task, but with the right tools and information, it can be done easily and quickly.Here are the basic steps to wire a Cat5 patch panel:Ste
How To Wire A Cat5 Patch Panel
Views: 394
Author: Site Editor
Publish Time: 2023-07-11
Origin: Site
A Cat5 patch panel is an important component of a structured cabling system. It helps organize and manage network cables in a neat and efficient way, which can simplify troubleshooting, maintenance and upgrades. Wiring a Cat5 patch panel may seem like a daunting task, but with the right tools and information, it can be done easily and quickly.
Here are the basic steps to wire a Cat5 patch panel:
Step 1 - Prepare the cables
Before you start wiring the patch panel, prepare the cables by removing about an inch of the outer jacket from each cable end. Then, separate the individual wires in each cable and straighten them neatly. It's important to make sure that all the strands of the wires are still in good condition and not frayed or damaged.
Step 2 - Insert the wires into the patch panel
Next, insert one end of each cable into an open port on the patch panel. It's crucial to follow the color-coding scheme of the panel to ensure that the wires are properly aligned. Typically, Cat5 cables use the T568A or T568B standard, and the patch panel should indicate which standard it follows. The wires should be aligned in the correct order, which is usually white-orange, orange, white-green, blue, white-blue, green, white-brown and brown.
Step 3 - Punch down the wires
After the wires have been inserted into the appropriate ports, use a punch down tool to secure them into place. Place the punch down tool on top of the wire and press down firmly until the wire is punched down into the contact. Repeat this process for each wire in every cable.
Step 4 - Label the ports
Once all the wires are securely punched down, label each port with a corresponding number or label to identify what device or network segment it connects to. This will make it easier to identify any issues or troubleshoot problems in the future.
Step 5 - Test the connections
After the wires have been punched down and labeled, it's important to test the connections to ensure that they are working properly. Use a network cable tester to check the continuity and functionality of each cable.
Conclusion
Wiring a Cat5 patch panel can be a bit challenging, but with the right tools and knowledge, it's a manageable task. Following the color coding scheme, properly punching down the wires and labeling the ports will create an organized, simple-to-use and easy-to-troubleshoot patch panel.
If you want to know more about industrial network cabinet,china fiber optic splice closure,china fiber optic distribution box,please consult the fiber optic splice closure factory


